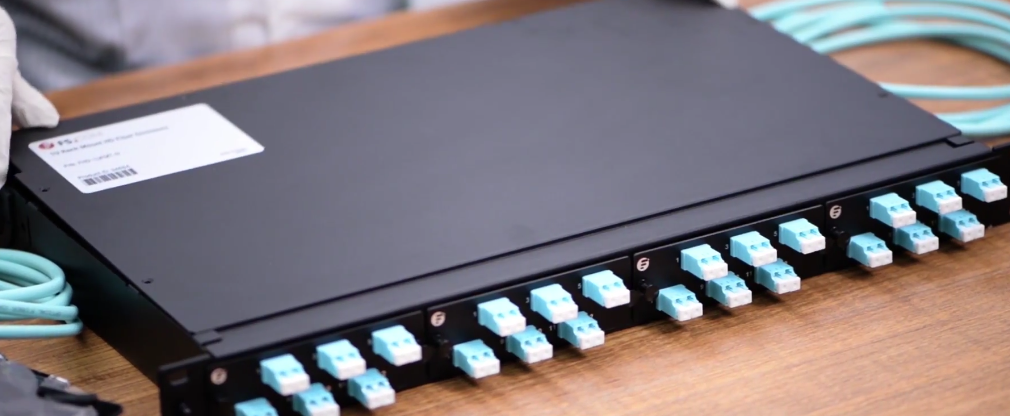
It seems that we have already known that the fiber patch panel is the bridge of fiber patch cables. Fiber patch panel, also known as fiber distribution panel, serves as a convenient place to terminate all the fiber optic cable running from different rooms into the wiring closet and provides connection access to the cable’s individual fibers. Fiber patch panels are termination units, which are designed with a secure, organized chamber for housing connectors and splice units.
How Does Patch Panel Termination Units Works?
We know that there are two major termination solutions for fiber cable: field terminated and pre-terminated. The pre-termination, with most devices terminated by the manufacturers in advance, requires less efforts when installing than field termination does. Therefore, this post is going to offer a glimpse into the field termination which describes the termination of the fiber optic cable in the field or the termination after installation.
Fiber Patch Panel Termination Procedure
In the termination process, the fiber optic cable need to be pulled between two points, then connectors will need to be attached and then connected to a patch panel. In addition, before they can be attached to a panel, connectors need to be attached to each individual strand, and a variety of tools will be needed. With field termination, we can determine the cable length accordingly, and fiber optic bulk cable is very easily to pull from either end of the installation circuit. To carry out the termination, such tools are needed as fiber optic enclosure, fiber cable, patch panel, cable ties, connector panels, permanent marker, fiber optic stripper, cleaver, metric ruler and rubbing alcohol.
To terminate the cable, first slide the boot onto the fiber. Strip the fiber to at least about an inch and a half . Place a mark at 15.5 mm for ST and SC connectors or at 11.5 mm for LC connectors. Clean the stripped fiber with an alcohol wipe and remove any debris. Set the stripped fiber into the cleave and cleave it. Insert the cleaved fiber into the rear of the connector until the mark align with the back of the connector body. Slight the boot up and over the rear of the connector body. After the termination, transmission testing of assemblies need to be performed.
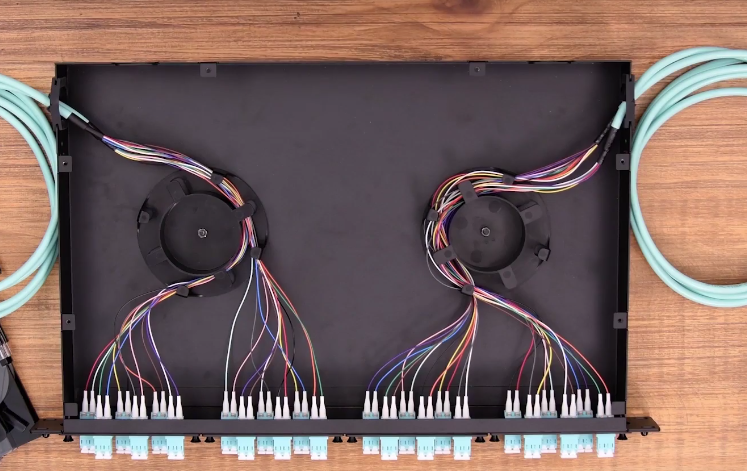 In the final fiber patch panel termination, first, open the front and rear door of the patch panel, and remove the covers. Remover the inter stain relief bracket. Second, use cable ties to put the cables on the bracket. The fibers should be put inside the clips on the tray to segregate the fibers from A and B slots. Put the patch panel into the panels clips. Take the excess fiber slack into the slack management clips. Make a bend in the fiber to maintain slight pressure on the connection.
Conclusion
The processes in the device connection and cable management are linking with each other that missing any or failure in any one will result in the imperfect system, or even the damage. If we own a fiber patch panel, we should make full use of its termination function. The products provided by FS,COM enable you to perfect your cabling system.
:: بازدید از این مطلب : 90
|
امتیاز مطلب : 0
|
تعداد امتیازدهندگان : 0
|
مجموع امتیاز : 0


